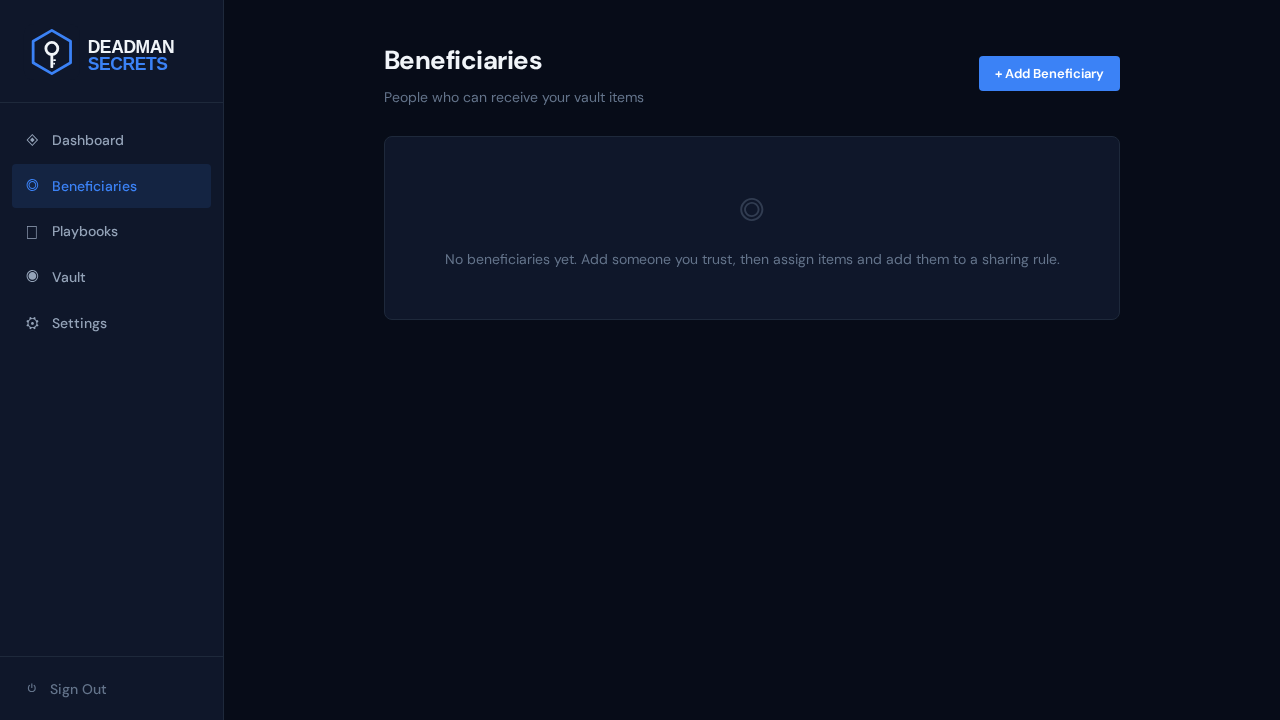
Open Beneficiaries and add the person you want to receive something. The email is where their secure access link is sent when your switch fires; the passphrase is the key only they hold — share it with them out of band.
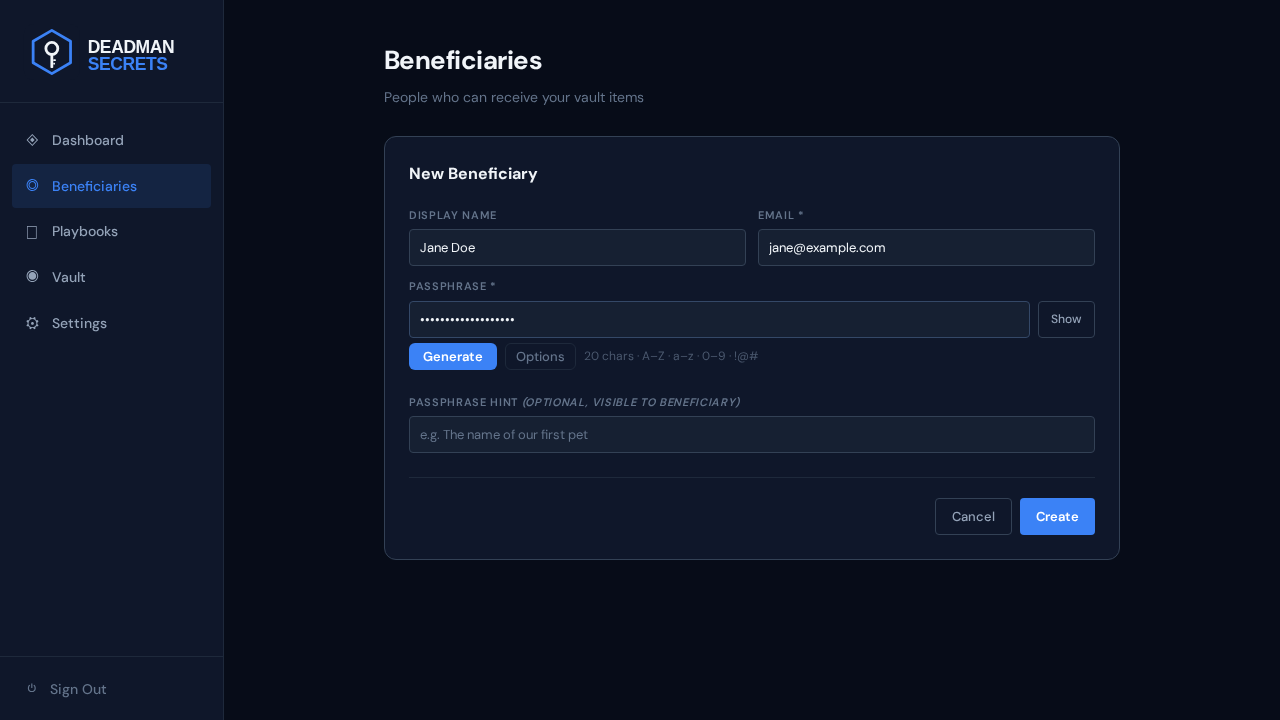
Give them a name, an email, and a passphrase. The passphrase never leaves your device in the clear and is what unlocks everything you assign — so pick something strong and tell them in person or over a trusted channel.
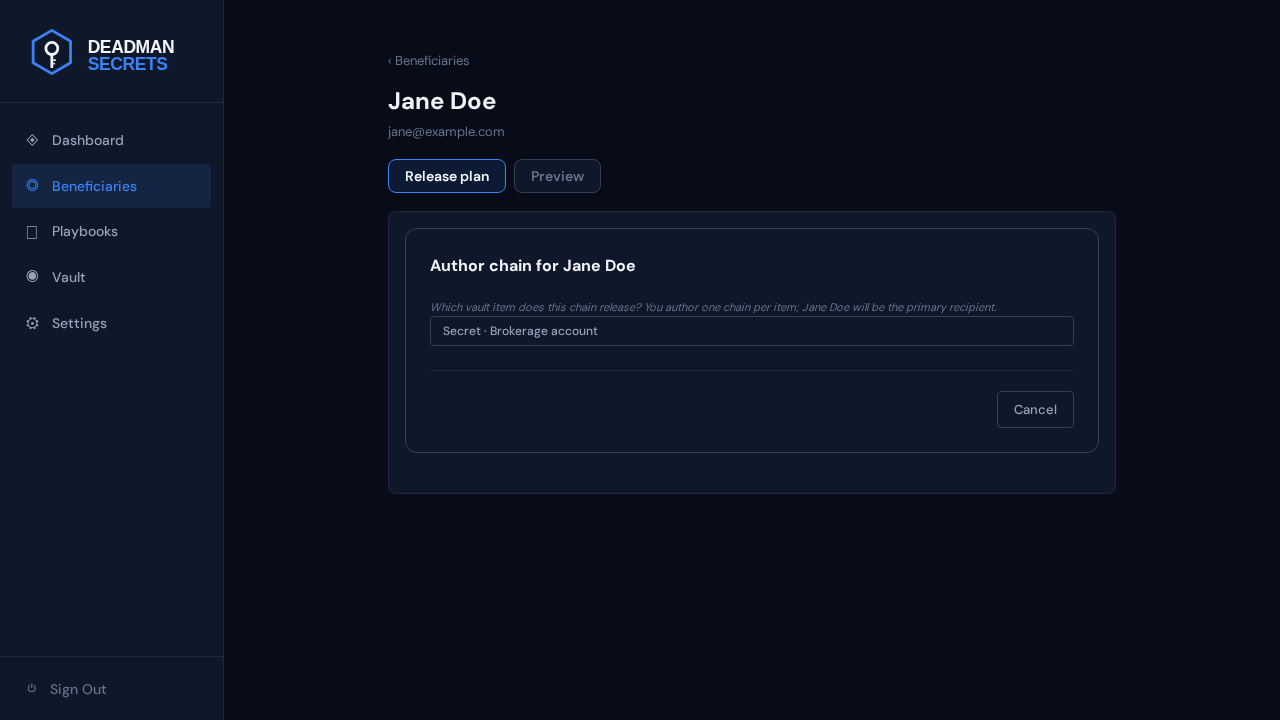
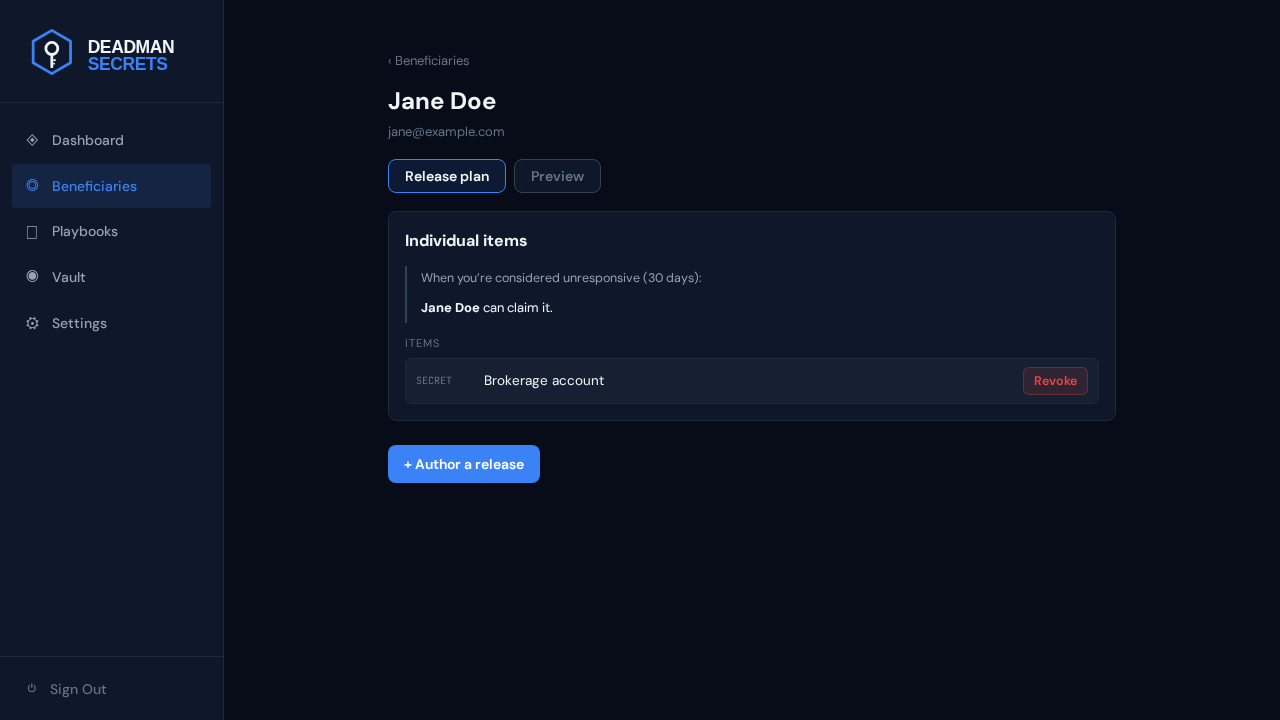
Open their Manage page. This is where you author releases — each one ties an item to an ordered chain of recipients, starting with this beneficiary.

First choose which vault item this release delivers — you author one chain per item, and this beneficiary is the primary recipient.
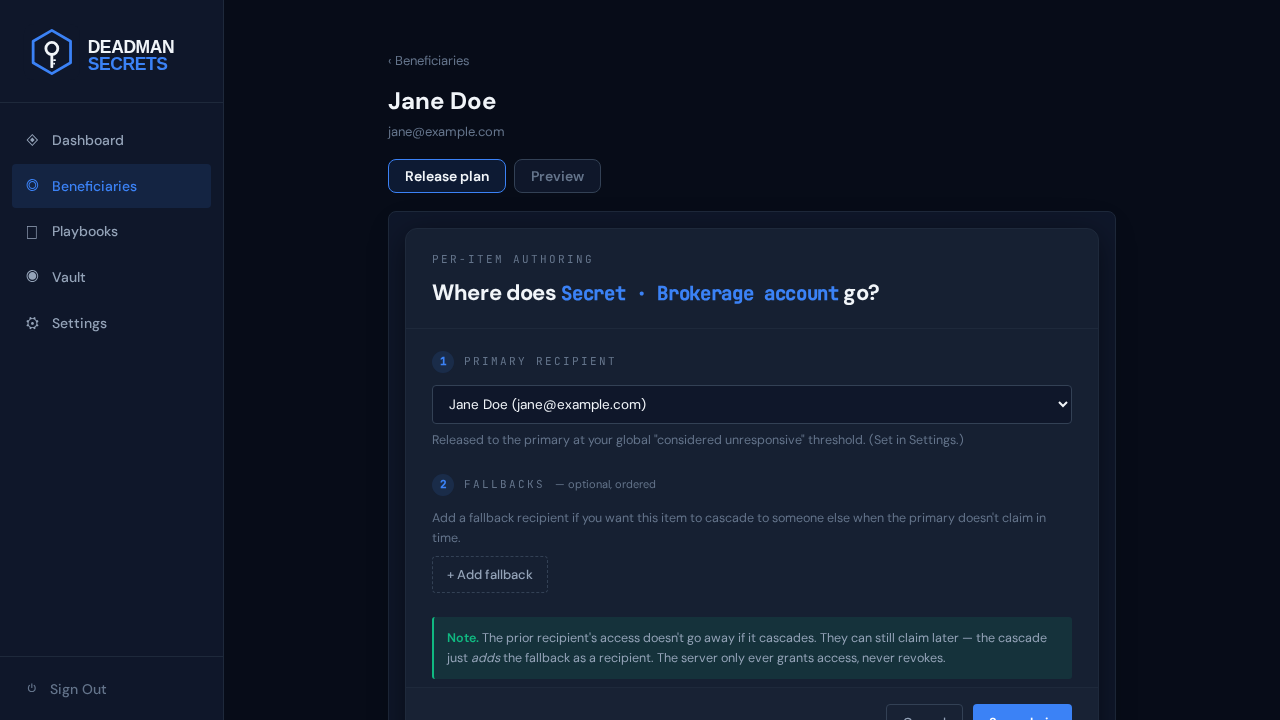
Now set the chain. This beneficiary is already the primary recipient — the first person in line. You can add fallback recipients who receive the item only if the primary never claims it within the window you set. The chain only ever grants access; it never revokes it from someone earlier in line.
Ready to set up your own?
Everything in this guide takes a few minutes in Deadman Secrets. Your secrets are encrypted on your device and delivered only when your switch fires.
Start for Free