Deadman Secrets Documentation
Everything you need to set up your vault: getting started, secrets, playbooks, release chains, the check-in system, the mobile app, and beneficiary access.
Overview
Deadman Secrets is a zero-knowledge dead man's switch for your digital life. You encrypt sensitive information on your device, assign beneficiaries, and configure a check-in schedule. If you stop checking in — because you can't — your secrets are automatically and securely delivered to the people you trust.
Key design principles:
- Zero knowledge: All encryption happens in your browser or mobile app. The server stores only ciphertext. We cannot read your secrets even if compelled to.
- Threshold delivery: A (2-of-3) Shamir's Secret Sharing scheme means delivery requires co-operation between the service and your beneficiary. No single party can decrypt alone.
- Graceful failure: The system is designed to survive our own compromise. AWS Nitro Enclave attestation and KMS key policy ensure cryptographic operations run only in verified code.
Your master password is never transmitted to the server. It is used locally to derive your vault encryption key via Argon2id. Forget your master password and your vault is permanently inaccessible — there is no recovery mechanism.
Registration
Visit app.deadmansecrets.com/register and complete the form. Master passwords must be at least 12 characters.
What happens during registration
- Your browser derives a master key from your password locally with Argon2id, using a randomly generated salt that is sent to the server alongside your account record.
- Authentication runs over OPAQUE -- a password-authenticated key exchange in which your plaintext password never leaves the device, not even in hashed form. The server only ever stores OPAQUE registration material.
- A random vault key (AES-256) is generated on-device and wrapped using your master key. Only the wrapped form is stored on the server.
- An Ed25519 signing key pair is generated in your browser's secure storage. The public key is registered with the server so future logins from this device can skip the hCaptcha challenge.
- An hCaptcha challenge runs to verify you are not an automated account-creation bot.
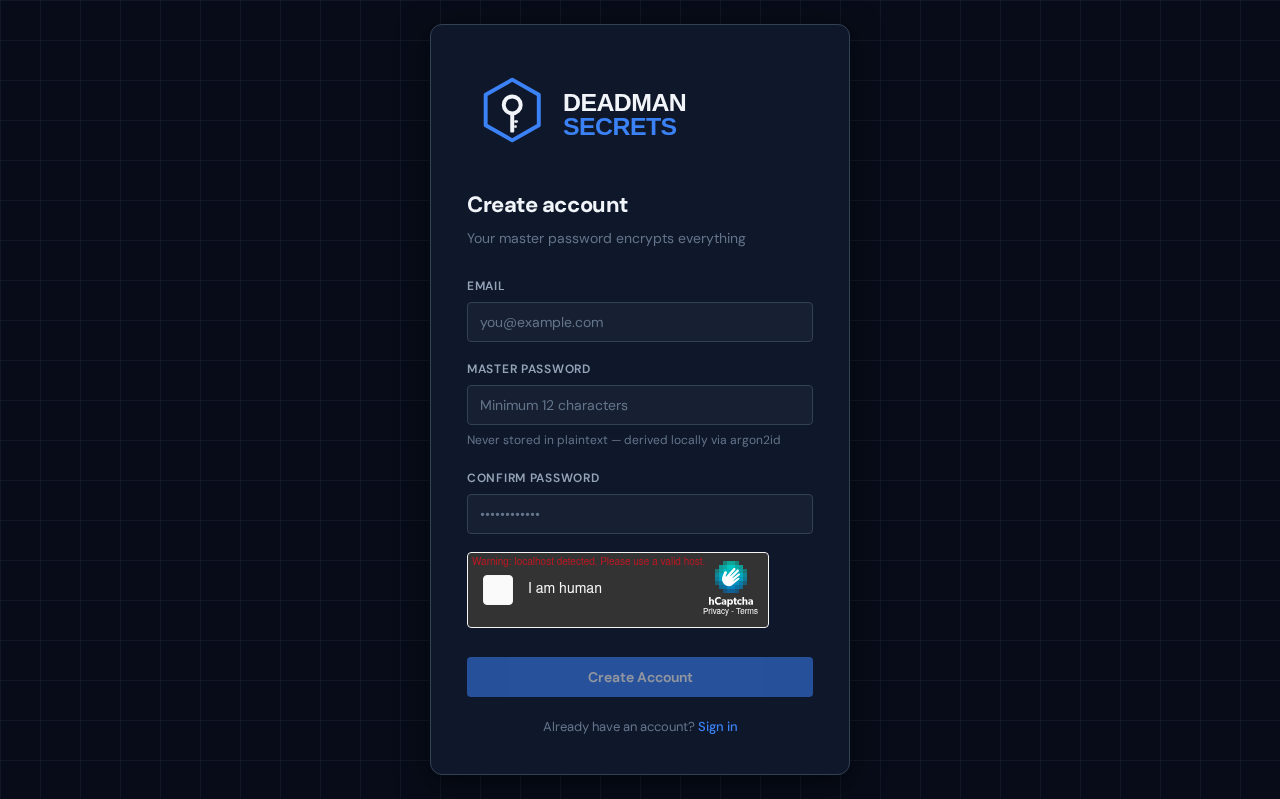
Write down your master password and store it safely. There is no "Forgot Password" flow. If you lose your master password, your vault cannot be decrypted by anyone, including us.
Signing In
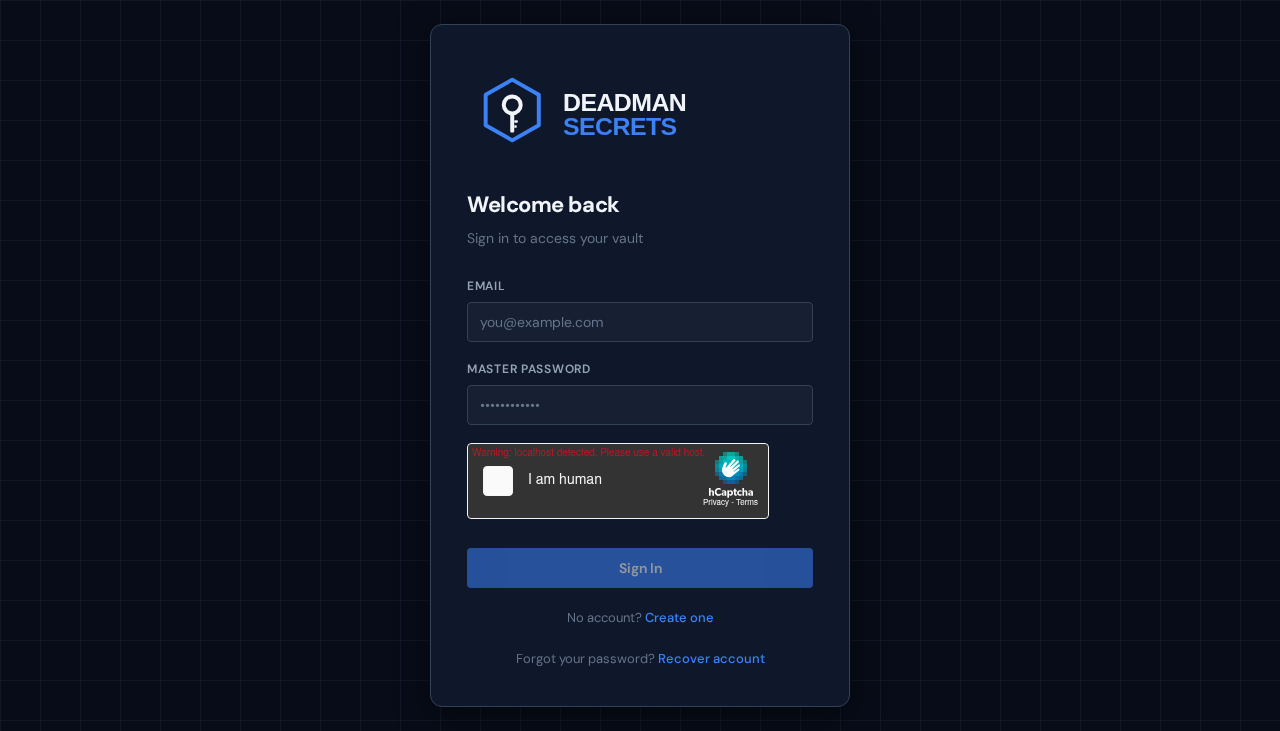
Navigate to app.deadmansecrets.com and enter your email and master password.
On first login from a new device, you will be prompted to complete an hCaptcha challenge to verify you're human. Once your device signing key is registered, subsequent logins from that device skip the captcha -- the server verifies the device identity cryptographically via an RFC 9421 HTTP Message Signature on each request.
If you have forgotten your password, follow the Recover account link from the login screen. Recovery requires a previously downloaded recovery kit; without one, the vault cannot be unlocked by anyone.
Dashboard
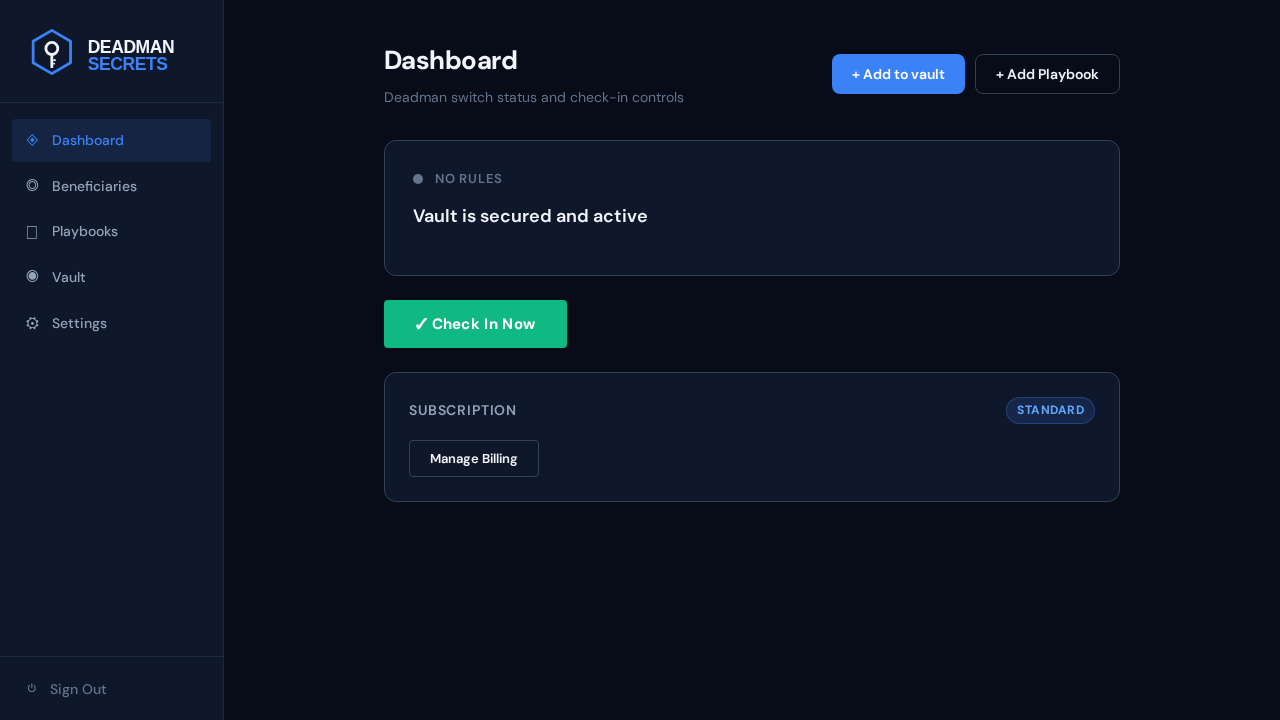
The dashboard is your home base. It shows:
- Deadman switch status -- one of No Rules, Active, Deadline Approaching, Grace Period, or Triggered. When at least one sharing rule exists, the card also lists the last check-in time, the next deadline, and (if you are in the grace window) the grace-period deadline.
- Check In Now button -- a one-click check-in that resets every active deadline.
- Subscription card -- your current tier and a link to manage billing or upgrade.
- + Add to vault -- opens the guided wizard for adding a new secret, file, message, or photo album.
- Pending shared content -- if someone has shared content with you, claim links surface at the top of the dashboard.
The left-hand sidebar links to the other main areas: Beneficiaries, Playbooks, Vault, and Settings.
Creating Secrets
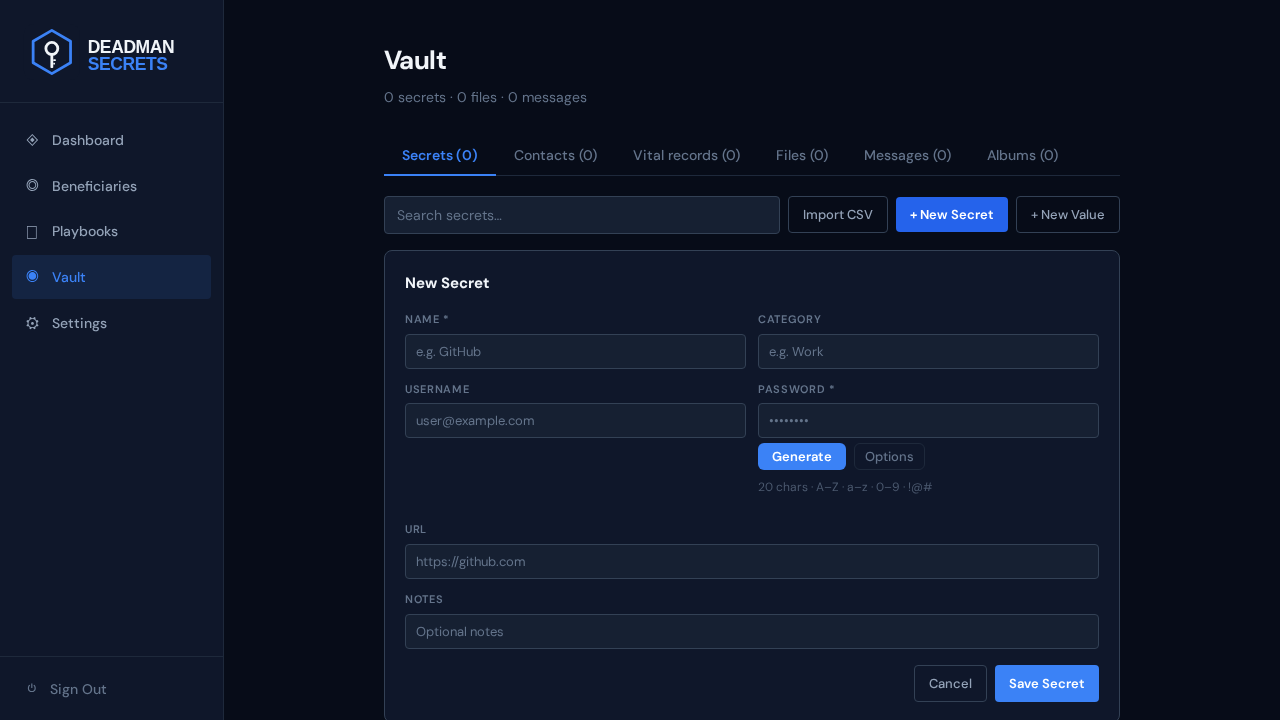
From the sidebar, open Vault and click + New Secret. An inline editor opens beneath the toolbar. Fill in the fields and click Save Secret. From the dashboard, the + Add to vault button launches a guided wizard that walks through the same fields, then prompts you to attach the new item to a sharing rule.
The secret value is encrypted with AES-256-GCM using a per-secret key before it is sent to the server. The server stores an opaque blob. When you view a secret, it is fetched and decrypted in your browser.
Vault Item Types
The vault is organised into tabs, each holding a different shape of content. Everything is encrypted on your device before it is stored.
- Secrets -- credential-shaped items. Fields include name, optional category, username, password (with a built-in generator), URL, and free-form notes. Use this for logins, recovery codes, API keys, and seed phrases.
- Typed values -- created with + New Value on the Secrets tab. A simple labelled value (label, value, and a "sensitive" toggle) for things that aren't logins -- a policy number, an account number, a safe combination, a wallet address.
- Contacts -- the people your beneficiary may need to reach: an attorney, an executor, an insurer, a funeral home. Each contact holds a name, organisation, phone, email, address, and notes, and you can import a .vcf (vCard) to fill it in quickly.
- Vital records -- labelled records of the documents that matter in an estate: birth, marriage, and death certificates, Social Security or passport numbers, deeds and titles. Stored as a label plus its value or reference.
- Files -- binary attachments (PDFs, images, documents). Encrypted with a per-file AES-256-GCM key, which is itself wrapped with your vault key. Subject to the per-plan storage cap (see File Attachments).
- Messages -- composed letters, audio, or video for delivery to beneficiaries. Includes a name and a body; audio and video messages embed encrypted media.
- Albums -- collections of photos with optional captions. Each photo is encrypted independently; beneficiaries see thumbnails first, then decrypt full resolution on demand.
Any of these items can be attached to a playbook and assigned to a beneficiary through a release chain.
File Attachments
Files are encrypted with a randomly generated per-file AES-256-GCM key. The key is then encrypted with your vault key and stored alongside the file metadata. The encrypted binary is uploaded to S3; the server never has access to the file key.
- Free plan: No file attachments
- Standard plan: Up to 1 GB total
- Professional plan: Up to 10 GB total
Supported file types include PDFs, images (JPEG/PNG/HEIC), documents (DOCX), spreadsheets, and arbitrary binary files.
Editing & Deleting
Open any secret from the secrets list and tap the edit icon. You can modify the name, value, and type. Each edit re-encrypts with a fresh IV using the same vault key.
Deleting a secret removes it permanently from the server. If the secret is referenced by an active sharing rule, you will be warned before deletion.
There is no undelete. Deleted secrets cannot be recovered because the ciphertext is immediately removed from the database and S3.
Playbooks
A playbook is the human side of your vault: a plain-language, step-by-step set of instructions your beneficiary follows, with the exact items they need attached right where they are referenced. Where a secret answers "what is the password," a playbook answers "what do I actually do."
To create one, open Playbooks from the sidebar and click + Add Playbook:
- Start from a template -- e.g. "File the life-insurance claim," "Access the crypto wallet," "Settle the estate" -- or start blank. A template pre-fills a title and suggests the items this kind of playbook usually needs.
- Set the urgency -- Time-sensitive, When ready, or Personal -- so your beneficiary knows how soon it matters.
- Write the instructions as a simple numbered list. Reference an item and it appears in the beneficiary's "Items you'll need" section automatically.
- Attach the items. Pick existing vault items, or create one on the spot with + new item -- it is encrypted on your device and attached in one step.
A playbook is assigned to a beneficiary the same way any item is: through a release chain. When your switch fires, the beneficiary sees the playbook exactly as you wrote it -- the orientation note, your steps, and a tap-to-reveal list of just the items you assigned to them. See Beneficiary Portal for what that looks like.
For a screenshot-by-screenshot walkthrough of building a playbook, see the how-to guide.
Sharing & Release Chains
Delivery is organised as a release chain: one vault item (or playbook), and an ordered list of recipients. The first recipient is the primary; you can add fallback recipients who receive the item only if the one before them never claims it within a window you set. The chain only ever grants access -- it never revokes it from someone earlier in line.
You author a release from the beneficiary's page:
- Open Beneficiaries from the sidebar and Manage the person you want to receive something.
- Click + Author a release.
- Choose the vault item or playbook this release delivers -- this beneficiary is the primary recipient.
- Optionally add fallback recipients and set how long each one waits before the next is offered.
- Save the chain. The item's share is re-encrypted for each recipient under their passphrase as you save.
Delivery is gated by the deadman switch: a recipient is offered the item only once you are considered unresponsive. For a one-off transfer that should not wait on the switch, use the Share action on a vault item to send it to an existing beneficiary immediately.
Our how-to guide walks through authoring a release chain step by step, with screenshots of choosing the item, setting the primary recipient, and adding fallbacks.
Beneficiaries
A beneficiary is a reusable item in your vault, created on the Beneficiaries page with a name, an email, and a passphrase (plus an optional hint). Once they exist you can assign items to them over time through release chains -- you don't have to decide everything up front.
The passphrase is what unlocks their content, and you must share it out-of-band -- by text, phone, paper, or any channel separate from email. When you create a beneficiary, Deadman Secrets shows a one-time claim card summarising the link and passphrase to pass along; you can reproduce it later from their page.
Behind the scenes, each beneficiary holds one share of a (2-of-3) Shamir-split decryption key for each item assigned to them. The three shares are held by you (owner), the service (Nitro Enclave), and the beneficiary. The beneficiary's share is itself encrypted by their passphrase, so a leaked email link is useless without the passphrase you shared separately.
Beneficiaries do not need a Deadman Secrets account. When your switch fires, each one receives a link to a single-page portal that walks them through entering the passphrase and downloading their content. Their position in a release chain -- primary, or an ordered fallback -- decides whether and when each item is offered to them.
Unresponsive & Unclaimed Windows
Two kinds of window control delivery. Your unresponsive threshold is how long you can go without checking in before you are considered unresponsive and releases begin. Each fallback in a chain then has an unclaimed window -- how long the recipient ahead of them has to claim before the item is also offered to the next person in line.
Together these protect you from accidental triggers -- a phone lost on vacation, a hospital stay, a forgotten reminder -- and let you stage delivery so the primary recipient gets first crack. As the deadline approaches you receive escalating notifications (push, then email), and checking in at any point before content is actually claimed cancels the delivery.
- Free plan: unresponsive threshold locked at 30 days.
- Standard plan: unresponsive threshold configurable from 1 to 365 days.
- Professional plan: unresponsive threshold from 1 to 365 days, with full control over per-recipient unclaimed windows.
How Check-In Works
The check-in system is the heart of Deadman Secrets. It is the proof-of-life signal that keeps your secrets locked.
Your check-in interval defines how frequently you must check in. Each successful check-in resets your deadline. If you miss the deadline, the grace period begins. If you miss the grace period, secrets are delivered to your beneficiaries.
Check-in methods:
- App button: Click "Check In Now" on the dashboard from any platform.
- Push notification: Tap the "Check In" action directly from the reminder notification without opening the app.
- Web: Click "Check In Now" on the web dashboard at app.deadmansecrets.com.
Notifications
Deadman Secrets sends notifications at the following intervals before your deadline:
- 7 days before deadline
- 3 days before deadline
- 1 day before deadline
- Day of deadline
- Each day of the grace period
Notifications are delivered via push (iOS/Android) when the mobile app is installed, and via email as a fallback. You can configure notification preferences in Account Settings.
The mobile push notification includes a direct "Check In" action button — no need to open the app.
Setting Intervals
The check-in interval is set per sharing rule. Different rules can have different intervals. Your global deadline is the earliest deadline across all active rules.
- Free plan: 30-day intervals only
- Standard plan: 1 to 365 days
- Professional plan: 1 to 365 days, plus configurable grace period
Mobile App
The Deadman Secrets mobile app is available for iOS and Android. It mirrors the full web experience and adds native push notification support for check-in reminders.
Installing
- Search for "Deadman Secrets" on the App Store (iOS) or Google Play (Android).
- Install and open the app.
- Sign in with your existing account credentials.
- Grant notification permissions when prompted — this is required for check-in reminders.
Security on Mobile
The app locks itself whenever it goes to the background. When you return, you must re-authenticate with your master password (or biometric shortcut, if configured). This prevents secrets from being visible if your device is grabbed while the app is open.
Your session keys are stored in the device's Secure Enclave (iOS) or Android Keystore
via expo-secure-store, isolated from other apps and OS processes.
One-tap Check-In from Notification
When you receive a check-in reminder push notification, swipe or long-press to reveal the "Check In" action button. Tapping it checks you in directly without needing to unlock or open the app.
Browser Extension
The Deadman Secrets browser extension for Chrome, Firefox, and Edge allows you to save credentials directly from websites without copy-pasting.
Installing
- Visit the extension page for your browser from the links on the dashboard or docs.
- Click "Add to Chrome" (or equivalent) and confirm the permissions.
- Click the extension icon in the toolbar and sign in to your Deadman Secrets account.
Saving a Password
- Fill in your credentials on any website login form.
- The extension detects credential fields and shows a "Save to Deadman" prompt.
- Click the prompt (or the toolbar icon → Save Current Page) to encrypt and save the credentials.
Security Note
The extension uses the same RFC 9421 HTTP Message Signatures as the web app. All encryption is client-side in the extension's service worker context. The extension does not have access to page DOM outside of explicit form detection.
Receiving Secrets as a Beneficiary
If you have been named as a beneficiary, you may receive an email notification in two situations:
- When the owner first designates you -- an optional introduction email explaining you've been named.
- When the owner's deadman switch fires -- the delivery email containing your access link. If you're a fallback recipient, that email arrives only once the person ahead of you in the chain hasn't claimed within their window.
The owner shares the passphrase with you separately, through any channel other than email -- text, phone, paper, in person. The passphrase is what unlocks the contents the link points to; without it, the link alone cannot decrypt anything.
Opening the link takes you to the portal. If the owner left you a playbook, you'll see their step-by-step instructions with the exact items you need; otherwise you'll see the list of items shared with you. Opening the link the first time starts a limited download window -- the page shows exactly how long you have and the date it closes -- so save anything you want to keep to your own device before it lapses.
Beneficiary Portal
The beneficiary portal guides you through decrypting shared content without requiring a Deadman Secrets account.
What you need
- The delivery email (containing your access link).
- The passphrase the owner shared with you out-of-band (text message, phone call, paper, or any channel other than the email itself).
- A modern web browser.
- Nothing else -- no account, no app installation.
Decryption process
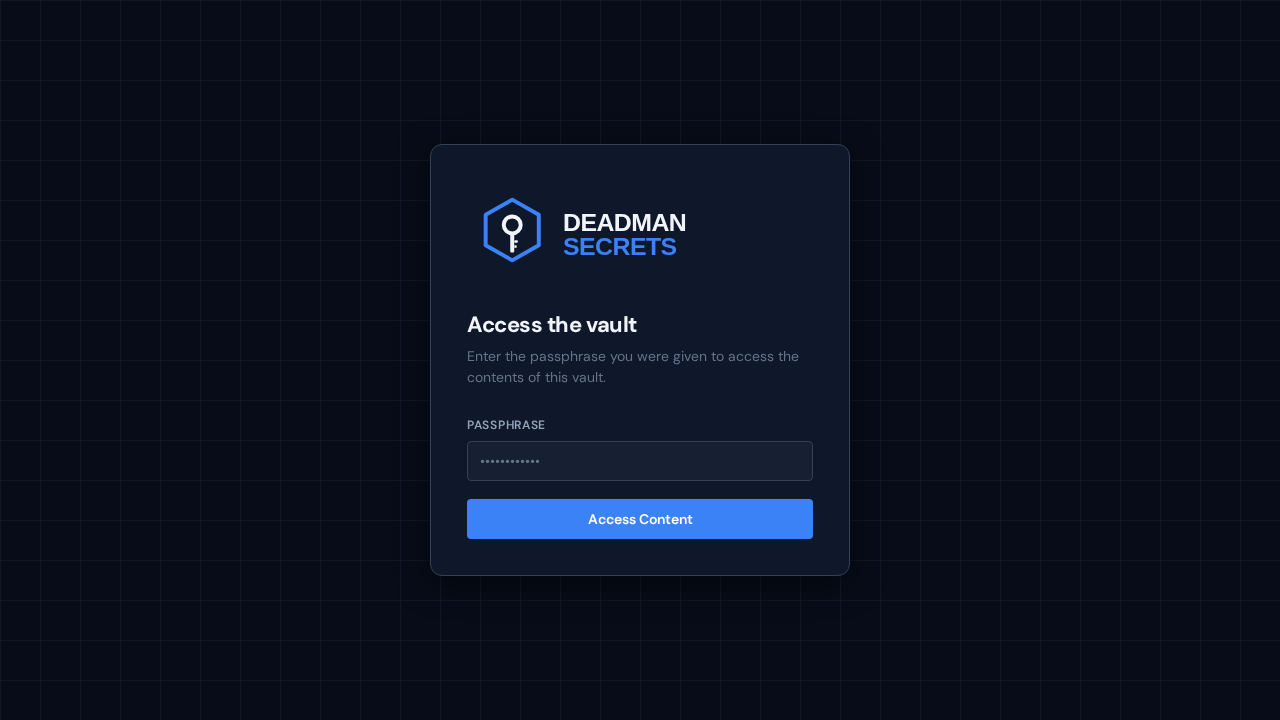
- Click the link in the delivery email. The portal opens to an "Access the vault" prompt.
- Enter the passphrase the owner gave you. The portal uses it to unlock your share of each item.
- The portal combines your unlocked share with the service share (held by the Nitro Enclave) to reconstruct each item's decryption key in-browser.
- Any playbooks the owner left you appear first, under "Step-by-step playbooks" -- their instructions, with an "Items you'll need" list. Each item is a tap-to-reveal control, so sensitive values stay hidden until you need them.
- Below the playbooks, every other shared item is grouped by type (secrets, files, messages, albums). Copy field values, play audio/video, view photo albums, and download files -- all decrypted in your browser, never on our servers.
Once you enter the passphrase for the first time, a sliding 48-hour window starts. You have until that window closes to download anything you want to keep -- the link is permanently dead afterwards even if the original expiry timestamp is still in the future.
Decryption happens entirely in your browser. The plaintext is never sent to the server. If you close the tab, the in-memory keys are gone -- save anything you need before closing.
Account Settings
Access account settings from the profile menu (top right corner of the dashboard).
- Email: Your login email. Contact support to change it.
- Change Password: Re-encrypts your vault key under the new password. All existing secrets remain accessible.
- Notification Preferences: Configure push vs. email, notification timing, and escalation behaviour.
- Subscription: View and manage your plan. Upgrade, downgrade, or cancel.
- Audit Log: (Standard and Professional) Download a tamper-evident log of every check-in, secret access, and rule modification.
- Delete Account: Permanently deletes all secrets, rules, and account data. Beneficiaries will not receive secrets from a manually deleted account.
Device Management
Each device (browser or mobile) registers an Ed25519 signing key. You can view and revoke registered devices from Settings → Devices.
Revoking a device prevents it from signing requests, which means that device must complete CAPTCHA on next login. It does not log the device out immediately — use Settings → Active Sessions to force logout.
- Free plan: 1 device
- Standard plan: 5 devices
- Professional plan: Unlimited devices
Frequently Asked Questions
What if I forget to check in while I'm fine?
You have your unresponsive threshold (1-365 days, defaulting to 30) to check in before releases begin, plus each fallback recipient's unclaimed window on top of that. Throughout you receive escalating notifications -- push first, then email. Checking in at any point before content is actually claimed cancels delivery.
Can my beneficiaries access my secrets before I'm gone?
No. The Nitro Enclave will not release its Shamir share until the triggering conditions are verified (you are considered unresponsive, and the requesting recipient is in line for that item). The check is enforced by the enclave's attestation-gated KMS key -- even compromising the API server cannot unlock early delivery. Additionally, each beneficiary's share is encrypted with the passphrase you shared out-of-band, so the email link alone is useless without the passphrase.
What if Deadman Secrets shuts down?
On graceful shutdown, the service triggers delivery on every active rule so beneficiaries receive their access links and content before the platform goes dark. The frontend bundle is a static SPA, so anyone with the source can run the beneficiary portal locally and combine an exported owner share with the beneficiary's passphrase-protected share to recover the contents. The fallback assumes the owner has previously exported their share material -- see Settings -> Export Vault below.
Can I export my secrets?
Yes. From the dashboard, go to Settings → Export Vault. This generates an encrypted JSON export of all your secrets using your vault key. Store this file safely — it requires your master password to decrypt.
Is there a family plan?
Not currently. Multiple family members each need their own account. You can designate each other as beneficiaries and share relevant secrets bidirectionally.
What does the server know about my secrets?
The server stores: your email (HMAC blind-indexed for lookups), encrypted secret blobs (ciphertext only), encrypted vault key, sharing rule metadata (beneficiary emails, deadlines), and audit logs. The server never has access to your master password, vault key, or plaintext secret values.
How do I report a security vulnerability?
Email security@deadmansecrets.com with details. We respond to all credible reports within 48 hours. See the Responsible Disclosure section for our full policy.