Opening the template pre-fills a title, a suggested urgency, the ordered steps below, and a row of suggestion chips for the items this playbook usually needs. Nothing is sent anywhere until you save — and every item you attach is encrypted on your device first.
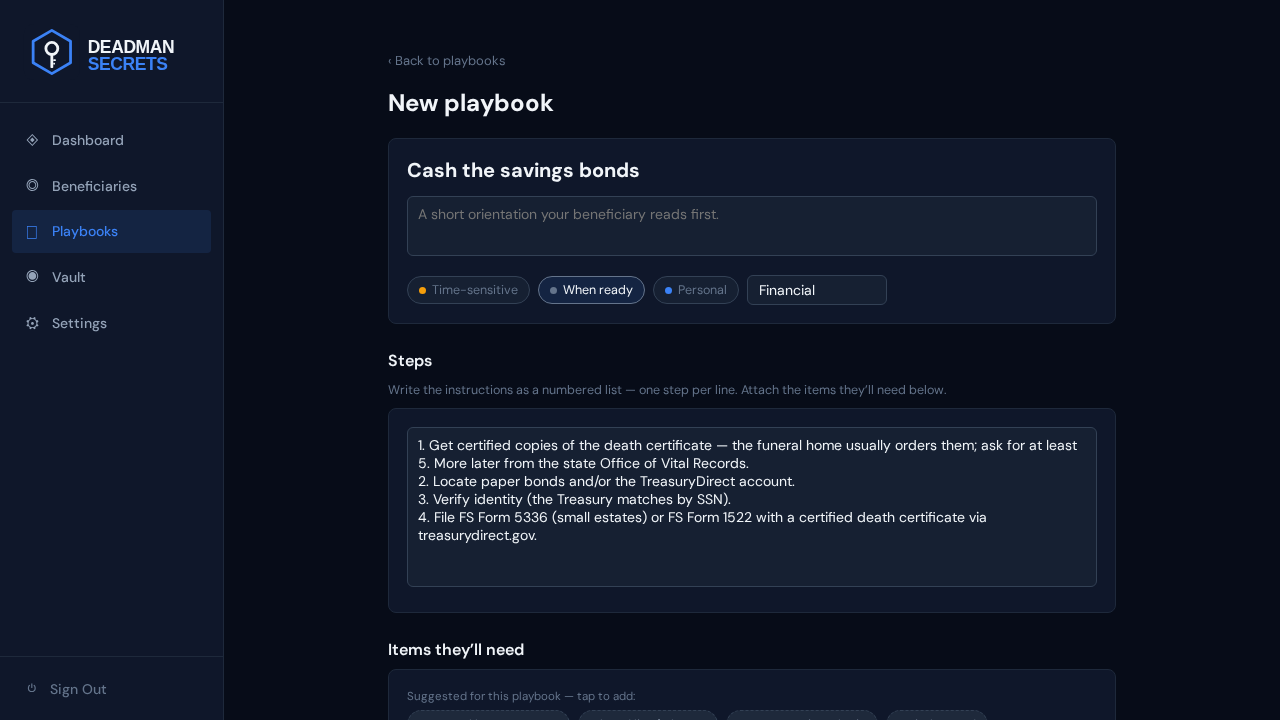
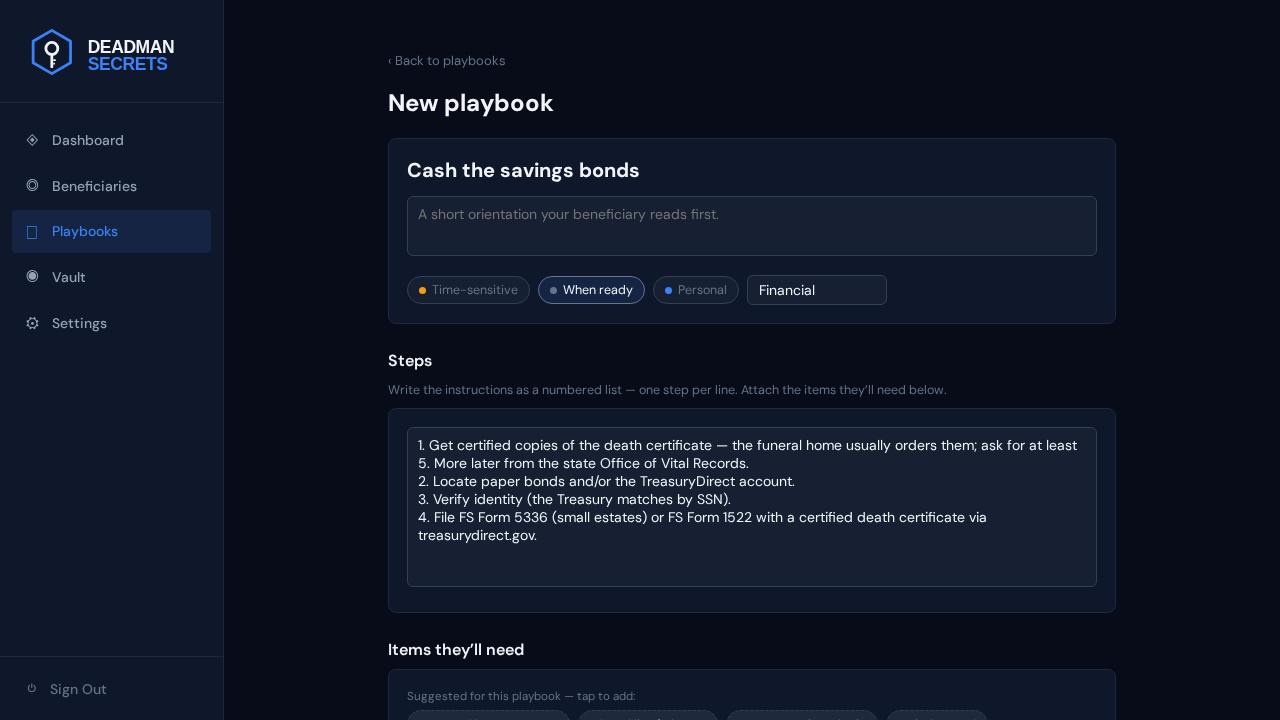
The first step locates the paper bonds and/or the TreasuryDirect account. The Treasury matches owners by SSN, so identity verification is next. The final step names the exact federal forms (FS Form 5336 for small estates, or FS Form 1522) filed with a certified death certificate at treasurydirect.gov. Each step names the exact item your beneficiary needs at that moment.
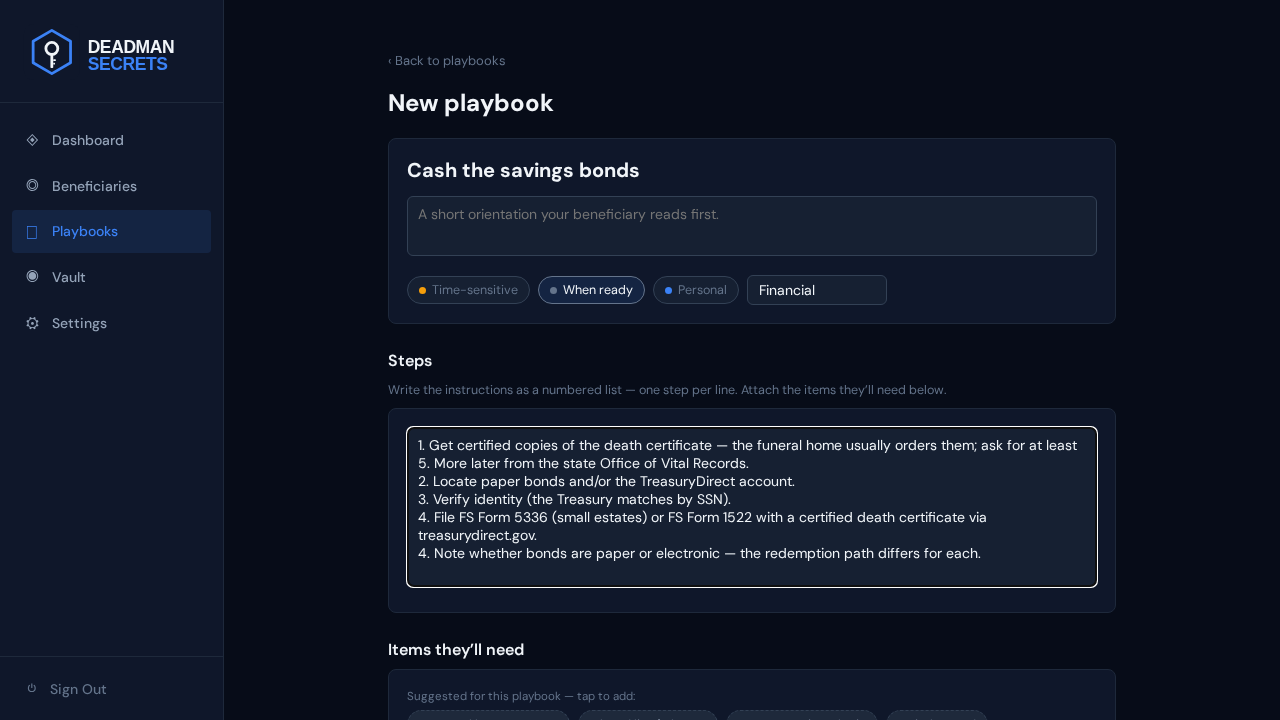
The instructions are just a numbered list you can edit. To add a step, click into the list and type a new numbered line; delete or reword any line the same way. Here we add one more reminder.
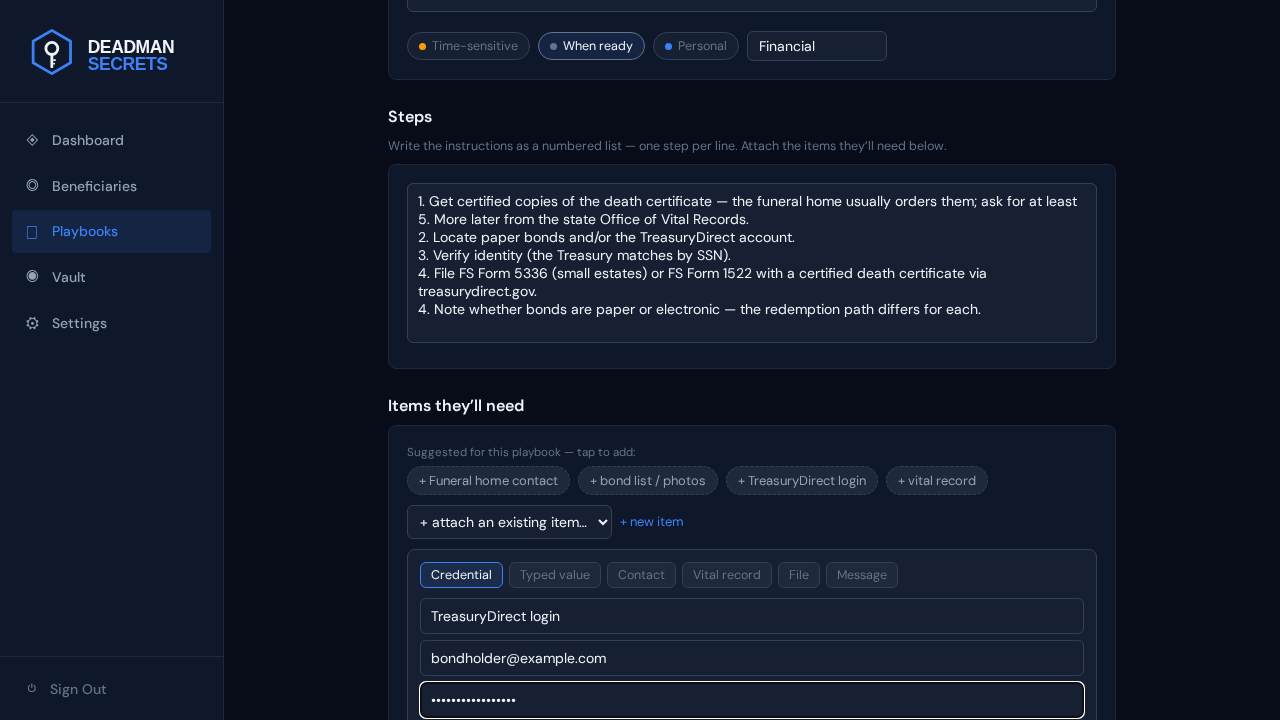
Add a credential — a login your beneficiary will need. Click "+ new item", choose Credential, and fill the name, username, and password. It's encrypted on your device and attached to the playbook in one step.
Add a file — a statement, a certificate, a scanned document. Choose File, give it a name, and pick the file from your device. Files are encrypted with their own key in your browser before upload; we never see the contents. Click "Create & attach" and it joins the playbook.
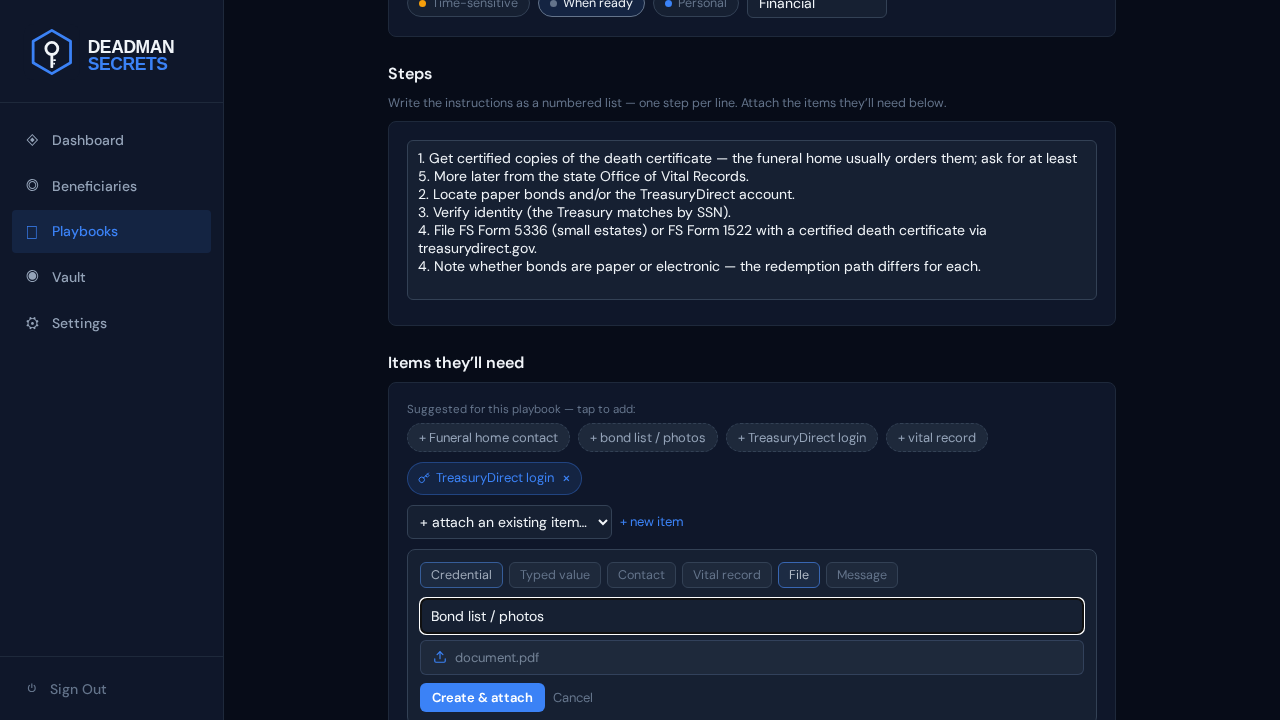
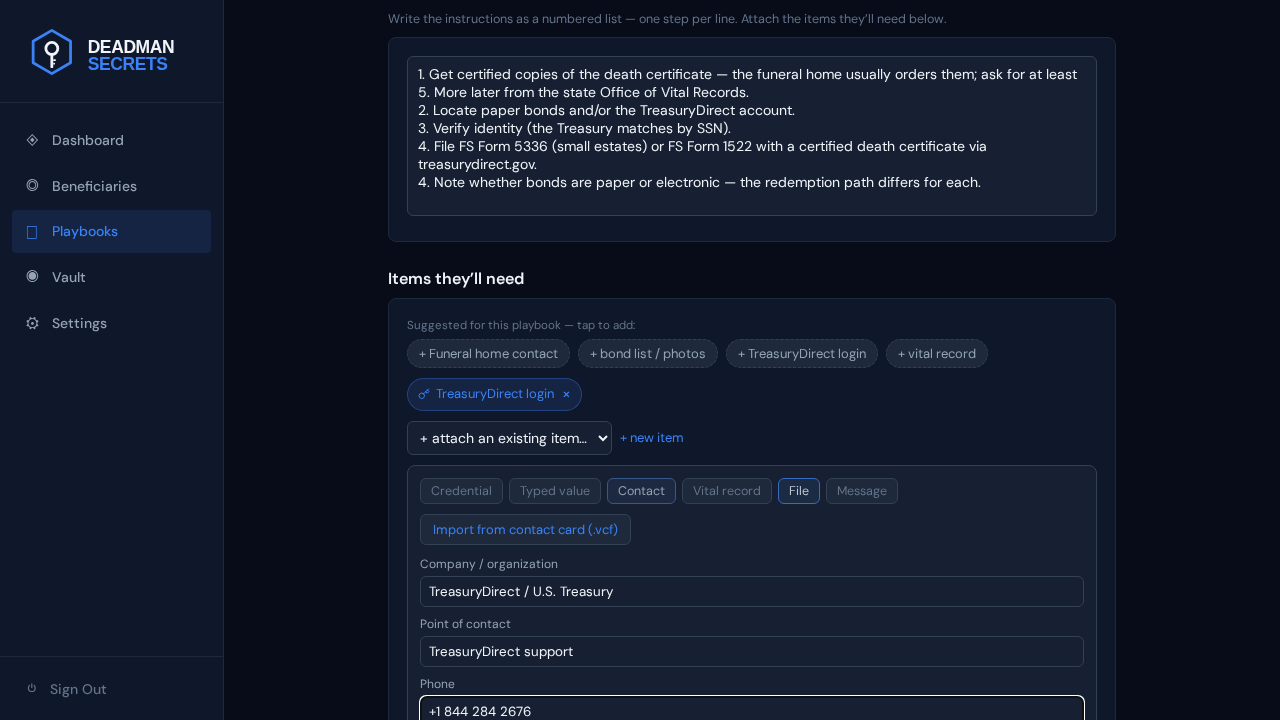
Add a contact — the person or organisation your beneficiary should reach. Choose Contact and fill the organisation, person, and phone (or import a .vcf). They get exactly who to call, not a guess.
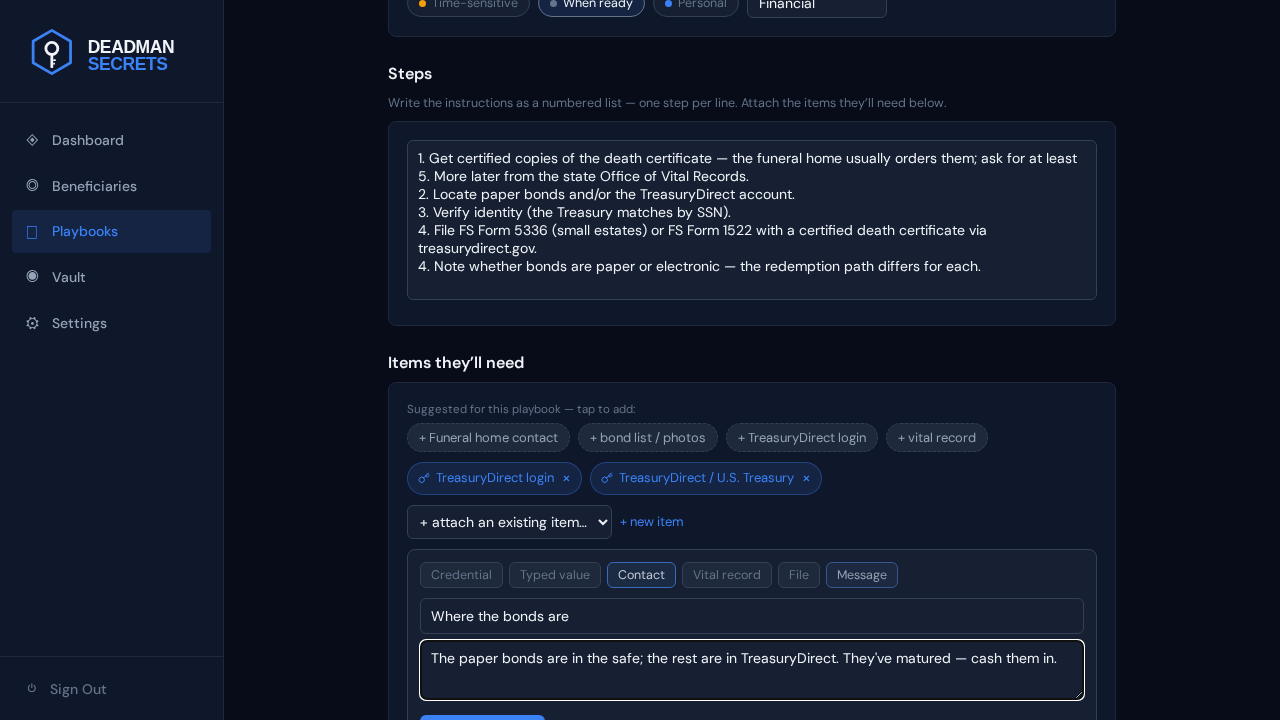
Add a message — a short note in your own words. Choose Message, give it a name, and write what you want them to read at this step. It's delivered alongside the playbook when your switch fires.
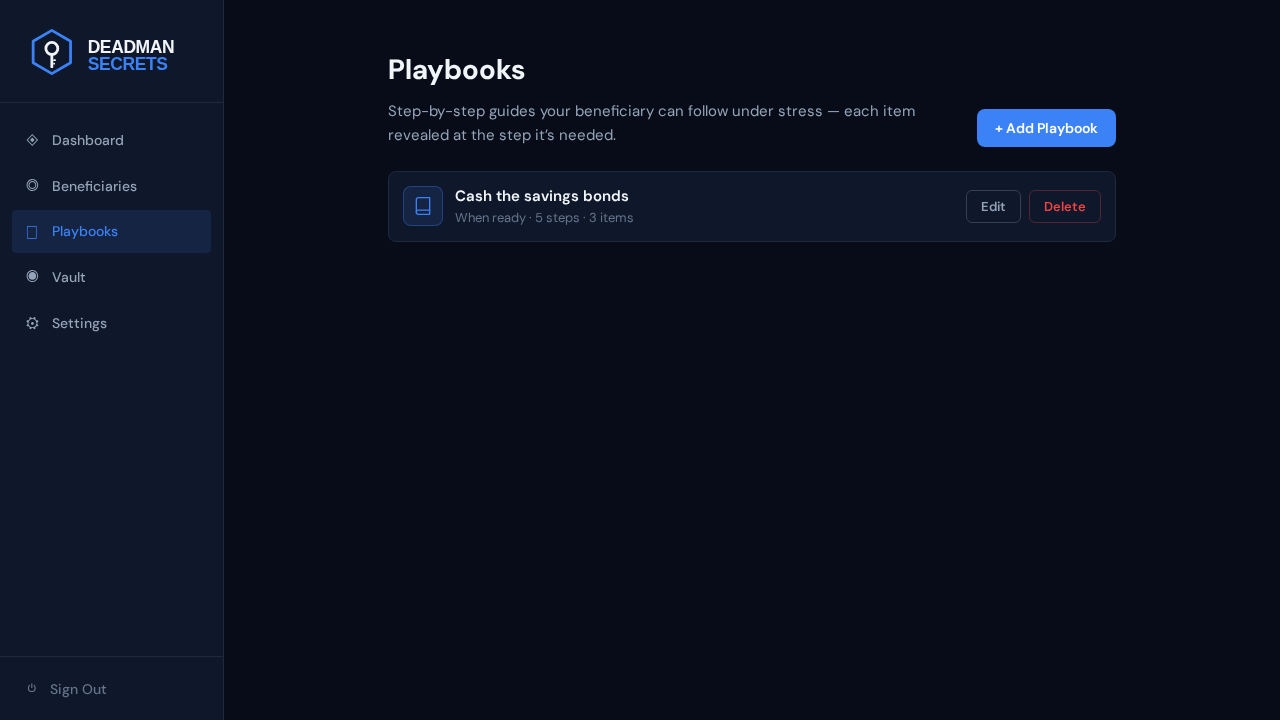
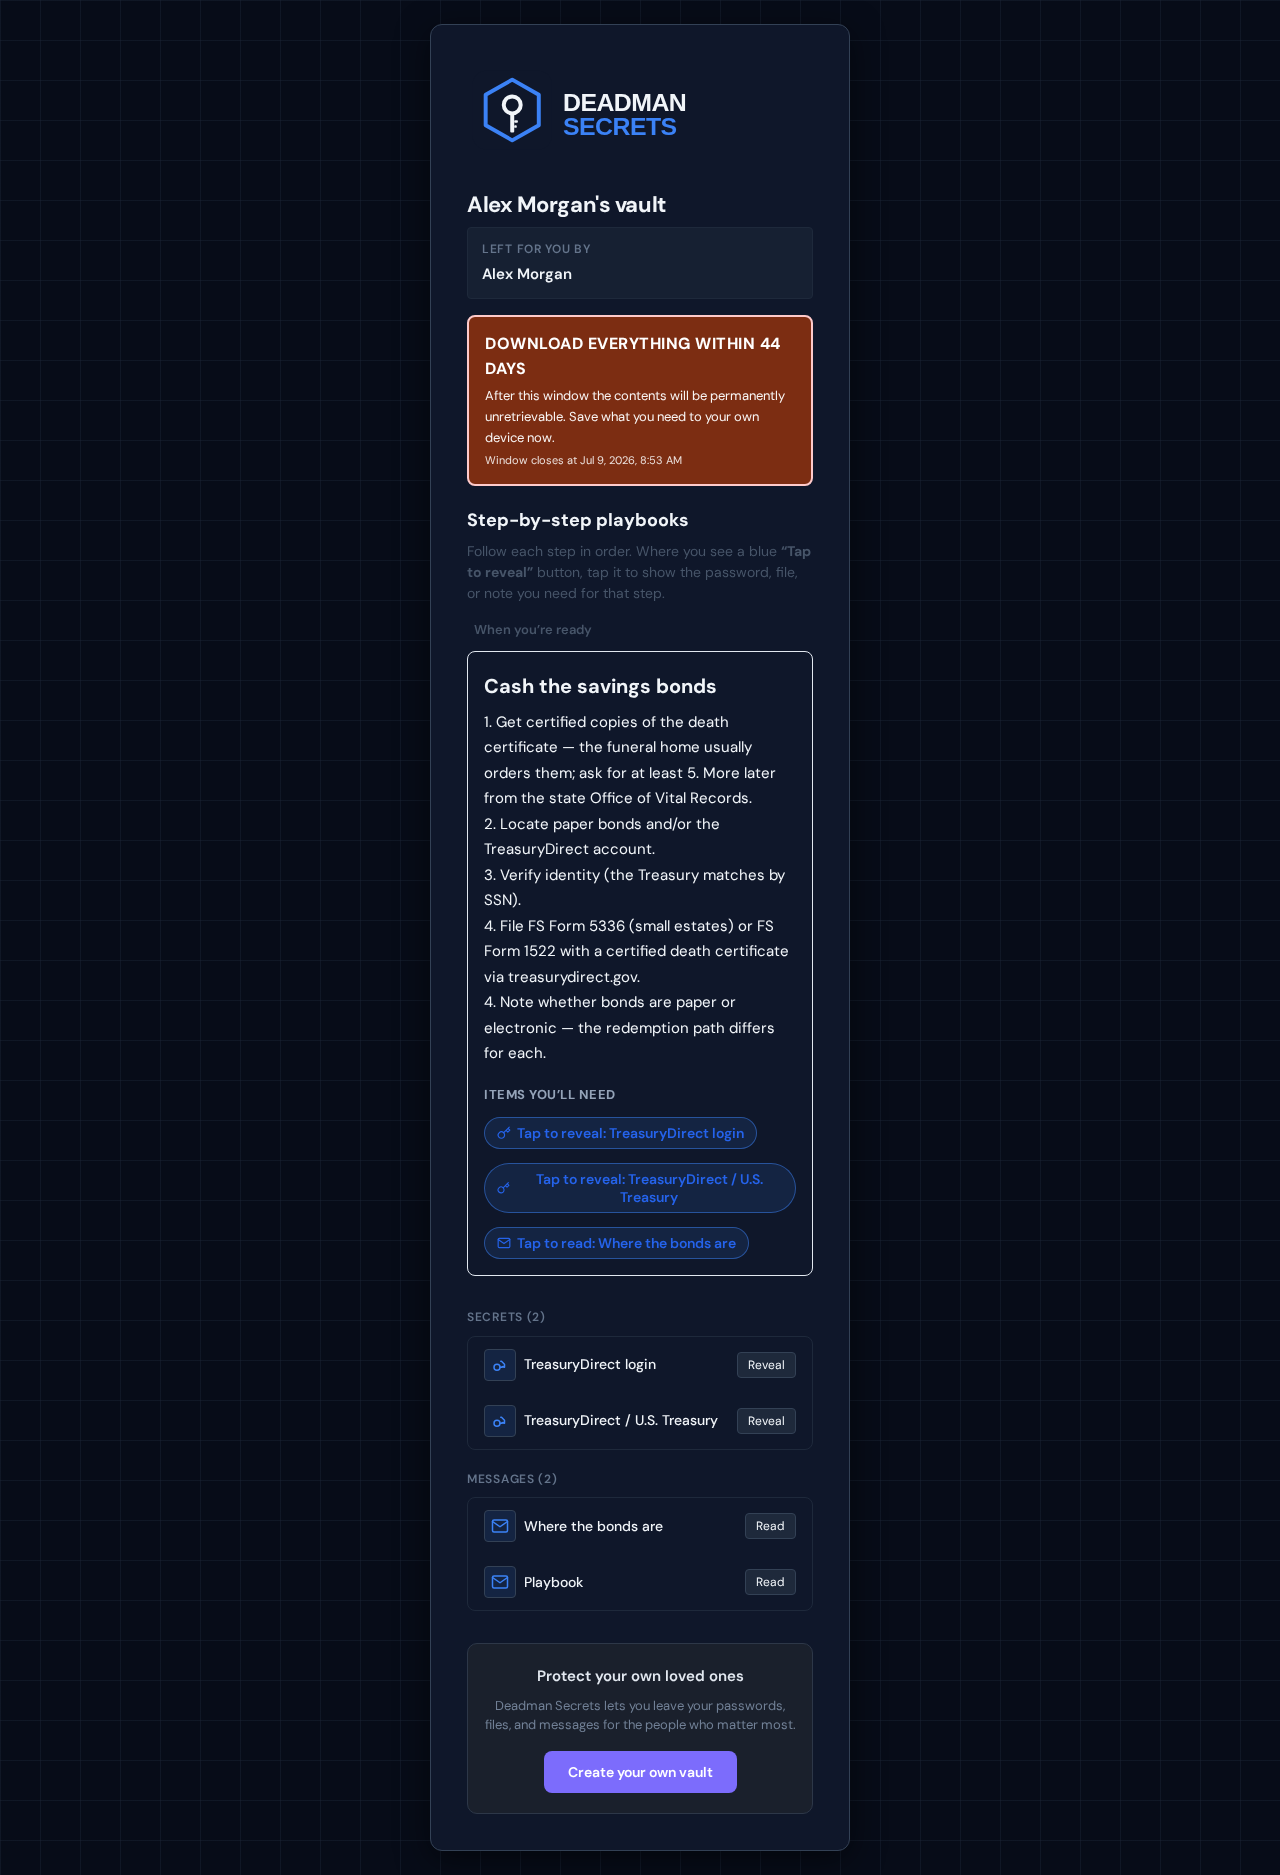
Finally, here's what your beneficiary actually receives. When your switch fires they get a secure link, enter the passphrase you gave them, and see this playbook exactly as you wrote it — your steps, and an "Items you'll need" list with each attached item as a tap-to-reveal control. Nothing is decrypted until they need it, and never on our servers.
Ready to set up your own?
Everything in this guide takes a few minutes in Deadman Secrets. Your secrets are encrypted on your device and delivered only when your switch fires.
Start for Free